DSL Fax
Sending a DSL Fax
Sending a DSL Fax with AirComUSA is as easy as sending an email.
You do not need a fax modem or any expensive faxing software.
From your email client, typically MS Outlook© or Outlook Express©, open a new
email window by selecting File, New, Mail Message. You can also click the
![]() button, or press
Ctrl-N on your keyboard.
button, or press
Ctrl-N on your keyboard.
While this white paper illustrates this process using Microsoft Outlook Express© you can use any email client, including on line clients like Yahoo! and Hotmail.
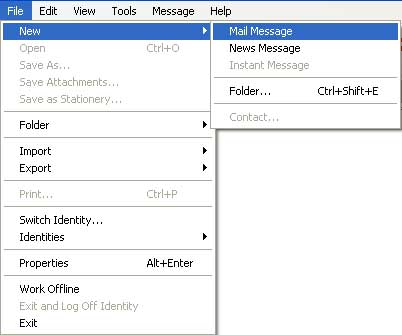
Figure 6: Opening a Mail Message in Microsoft© Outlook Express©
Outlook
Express© will open a blank email message. In the ![]() field, type the email
address AirComUSA gives you when
you registered for the service. This address will direct your documents to our
system, which will then distribute your documents to the fax numbers you
specify.
field, type the email
address AirComUSA gives you when
you registered for the service. This address will direct your documents to our
system, which will then distribute your documents to the fax numbers you
specify.
In the ![]() field, type a brief summary of your email.
field, type a brief summary of your email.
Finally, attach the documents you want to fax to this email. You can attach these files by clicking and dragging them to the space between the subject field and the text formatting fields.
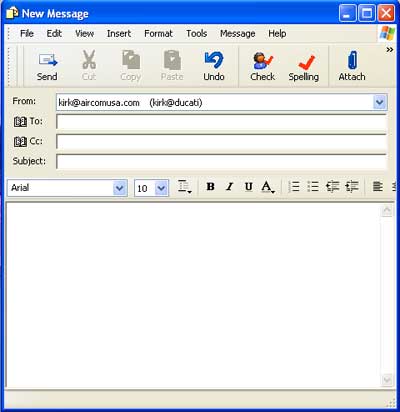
Figure 7: Microsoft© Outlook Express© Mail Message
You
can also attach files by clicking Insert, File Attachment. This will open the insert attachment dialogue box. Select
the appropriate directory and file(s), and then click ![]() .
.
Your attached files can be any of the following formats:
- doc - Microsoft Word Document
- tif and tiff - Tagged image file
- prn and ps - PostScript
- pdf - Adobe PDF
- txt and text - Plain text
- html - HyperText Markup Language
Creating .pdf and .tif files requires specialized software. Virtually every program allows you to save your document as a text file using the Save As command. From any program with a print menu, you can create a .prn or .ps file.
* NOTE - The .prn file must be created by the correct printer driver. Other PS, post script, drivers will work, but HP LaserJet 4P/4MP PS is known to work. It is a typical driver that can be found on a windows disk.
To create a .prn file, open the print dialogue window by clicking File, Print.
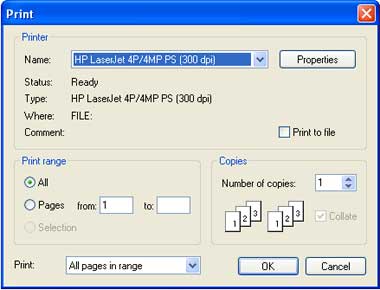
Figure 8: The print dialogue window
Check the ![]() box in the upper
right hand corner of the window below the
box in the upper
right hand corner of the window below the ![]() button. Click
button. Click
![]() , and one of two Print to File windows will open. See figures
9 and 10 below.
, and one of two Print to File windows will open. See figures
9 and 10 below.
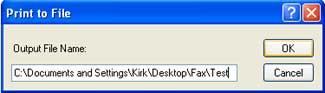
Figure 9: Print to file dialogue window 1
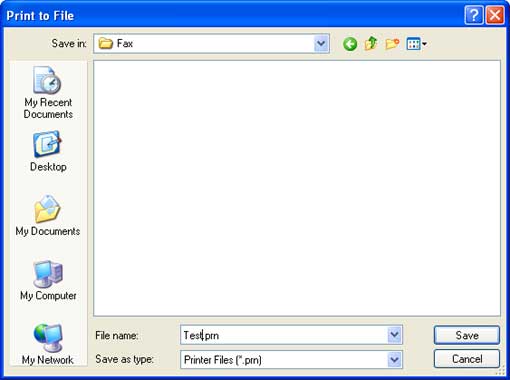
Figure 10: Print to file window dialogue 2
If your print to
file dialogue window looks like figure 6, type the address and file name of
your new .prn file, and then click ![]() .
.
If your print to
file dialogue window looks like figure 7, select the appropriate directory in
the ![]() . Type the file name in the appropriate field, and click
. Type the file name in the appropriate field, and click ![]() .
.
The order in which you attach your files determines how they will come out of the recipient's fax machine. You should attach your cover page first, and then any additional documents you may have.
Figure 11: DSL Fax Mail Message with cover sheet and fax material attached
In the body of your message, type the fax number(s) you are faxing your documents to. If you are faxing your attachments to multiple fax numbers, place each fax number on a separate line.
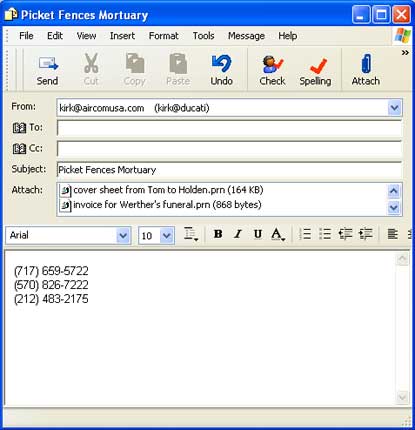
Figure 12: DSL Fax Mail message to send to multiple fax numbers
Because our system looks for 10-digit numbers, you should always include the area code. In addition, you don't need to worry about whether to include parentheses, periods or dashes between the area code, prefix and line number; our software ignores such dividing punctuation.
Be sure to delete any signature files you may be using; otherwise, our system will send your fax to the phone numbers listed in that file.
When
your email is ready, click ![]() . AirComUSA
will then distribute your attachments to the fax numbers you listed in the body
of your message.
. AirComUSA
will then distribute your attachments to the fax numbers you listed in the body
of your message.
To protect your privacy, and that of those to whom you fax documents, AirComUSA encrypts the faxes it sends.
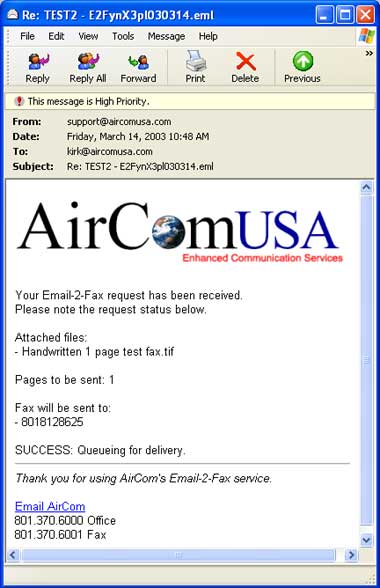
Figure 13: Report Email for your DSL fax
When our servers have successfully sent your email to fax to each number, you will receive a report email confirming that the DSL fax went through.
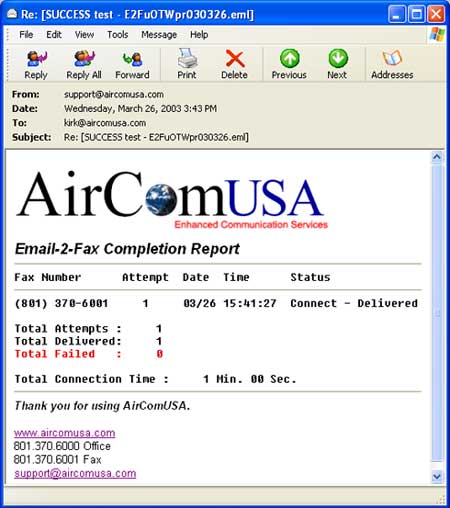
Figure 14: Body of email confirming the DSL fax.
Receiving a DSL fax
The fax can then be opened and viewed effortlessly with the Kodak Imaging fax viewer that comes with Windows. The normal location of this fax viewer is Start > Programs > Accessories > Imaging. This viewer is capable of viewing multiple page documents, and also gives you the ability to edit the document.
Receiving a DSL fax through AirComUSA's DSL fax service is easy. When you register, we will assign you a fax number. Depending on your preference, you can receive fax number toll free, a toll fax number, or a combination of toll free and toll numbers.
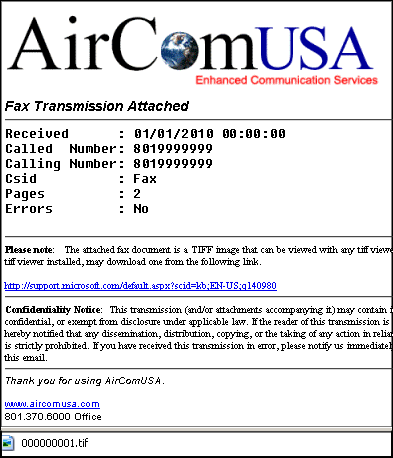
When someone sends you a fax on one of your AirComUSA fax lines, our DSL fax service converts the faxed pages to .tif files, attach them to an email, and send that email to the email address you provided when you registered.
Figure 15: Receiving a DSL fax using AirComUSA's.
To
view the faxed documents, open the email by double clicking on the email in
your Inbox. In figure 13, the faxed document is
![]() .
.
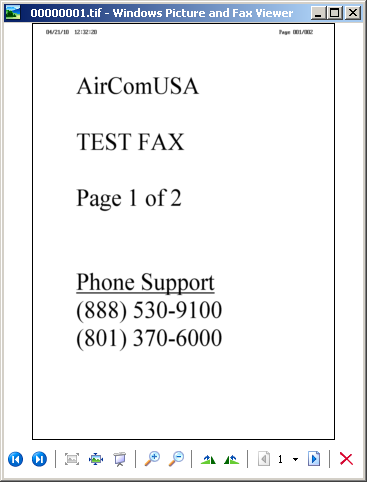
Figure 16: Viewing a DSL fax via email using AirComUSA
Double
click on the .tif files. Unless you have configured your PC differently, they
will automatically open in Kodak© Imaging©. After you are finished with one
attachment, click the
![]() in the upper right
hand corner, and repeat the process with the next attachment.
in the upper right
hand corner, and repeat the process with the next attachment.
To
close the email, click the
![]() in the upper right
hand corner of the email.
in the upper right
hand corner of the email.